How to Change a Thermocouple in a Gas Water Heater
Imagine this: It’s a chilly evening, and you’re looking forward to a hot shower after a long day. But when you turn on the faucet, all you get is cold water. The culprit? It could be a faulty thermocouple in your gas water heater.
A thermocouple is a crucial safety device in gas water heaters. It’s responsible for ensuring that the gas valve stays open only if there’s a flame to ignite the gas. If the thermocouple malfunctions, it shuts off the gas supply, preventing a potentially dangerous gas leak.
Understanding the Role of the Thermocouple
The thermocouple in your gas water heater works based on a simple yet ingenious principle: the Seebeck effect. This effect explains that when two dissimilar metals are joined, and there’s a temperature difference between them, a small electrical voltage is generated.
In a gas water heater, the thermocouple is positioned near the pilot light. When the pilot light heats the thermocouple, it generates a voltage that powers an electromagnet in the gas valve, keeping it open. If the pilot light goes out, the thermocouple cools down, the voltage drops, and the gas valve shuts off, preventing unburned gas from accumulating.
Troubleshooting a Faulty Thermocouple
Before you jump into replacing the thermocouple, it’s essential to confirm that it’s the actual problem. Here are some signs that your thermocouple might be faulty:
- The pilot light won’t stay lit: If you’re unable to light the pilot light or it keeps going out, the thermocouple could be preventing the gas valve from staying open.
- The water heater cycles on and off: A malfunctioning thermocouple might be intermittently shutting off the gas supply, causing the water heater to cycle between heating and cooling.
- Visible damage to the thermocouple: Inspect the thermocouple for any signs of soot, corrosion, or bending. These can hinder its functionality.
A Step-by-Step Guide to Replacing a Thermocouple
If you’ve determined that the thermocouple is indeed the culprit, replacing it is a relatively straightforward process. However, always prioritize safety when dealing with gas appliances.
Here’s what you’ll need:
- Adjustable wrench
- Screwdrivers (flathead and Phillips)
- New thermocouple compatible with your water heater model
Follow these steps:
- Turn off the gas supply: Locate the gas valve that controls the flow of gas to your water heater and turn it to the “off” position.
- Let the water heater cool down: Allow ample time for the water heater and its components to cool down before proceeding.
- Remove the access panel: Use a screwdriver to remove the access panel that covers the pilot light and thermocouple assembly.
- Identify the thermocouple: The thermocouple is a thin copper or aluminum tube connected to the gas control valve.
- Disconnect the thermocouple: Carefully loosen the thermocouple nut using an adjustable wrench. There might be a second nut securing the thermocouple to the gas control valve; loosen this as well.
- Disconnect the thermocouple from the pilot assembly: Gently bend the thermocouple tubing to free it from the pilot assembly.
- Install the new thermocouple: Feed the new thermocouple through the same path as the old one and connect it to the pilot assembly. Hand-tighten the nuts, then use the wrench for a secure fit, avoiding over-tightening.
- Reconnect the thermocouple to the gas control valve: Align and tighten the nut securing the thermocouple to the gas control valve.
- Reattach the access panel: Secure the access panel back in place.
- Turn on the gas supply: Turn the gas valve back to the “on” position.
- Relight the pilot light: Follow the manufacturer’s instructions in your water heater manual to relight the pilot light.
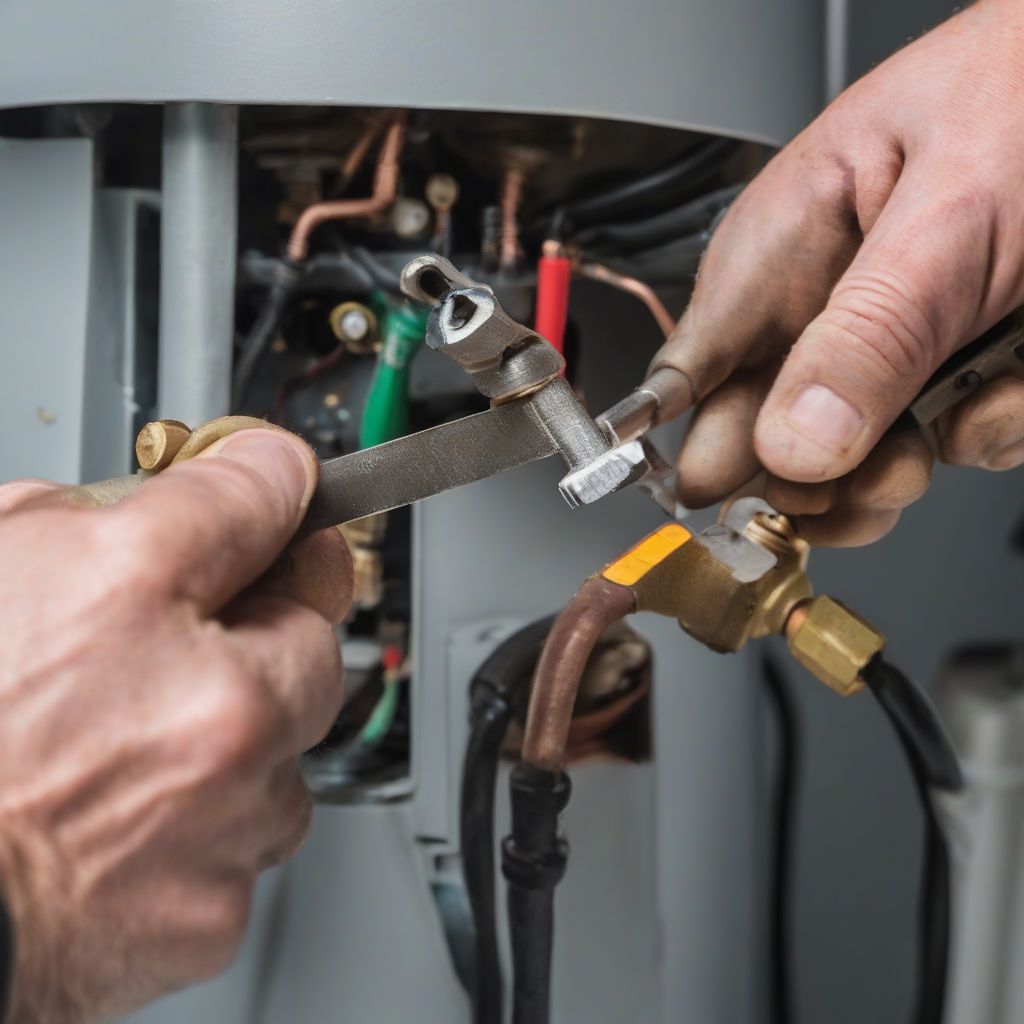
gas.areview.net/wp-content/uploads/2024/09/replacing-thermocouple-66e007.jpg" alt="Thermocouple Replacement" width="1024" height="1024">Thermocouple Replacement
Essential Tips for a Successful Thermocouple Replacement
- Consult your water heater manual: Refer to your specific water heater model’s manual for detailed instructions and safety guidelines.
- Choose the right thermocouple: Ensure you purchase a replacement thermocouple compatible with your water heater make and model.
- Don’t force connections: Avoid over-tightening nuts, as this can damage the thermocouple or gas control valve.
- Seek professional help if unsure: If you’re uncomfortable working with gas appliances or encounter difficulties, it’s best to contact a qualified plumber or gas technician.
Conclusion
A functioning thermocouple is vital for the safe and efficient operation of your gas water heater. By understanding its role and following the steps outlined above, you can confidently tackle a thermocouple replacement and ensure that you’re never left with a cold shower on a chilly evening. Remember, prioritize safety and always refer to your water heater’s manual or seek professional assistance when needed.