How to Light a Pilot on a Gas Heater: A Comprehensive Guide
Have you ever walked up to your gas heater on a chilly evening, ready to turn it on, only to be met with cold air? The culprit might be a pilot light that has gone out. While this might seem like a daunting task, especially if you’re unfamiliar with the intricacies of gas appliances, relighting a pilot light is a relatively straightforward process once you understand the safety precautions and steps involved. This guide will walk you through the process of safely lighting a pilot on a gas heater, ensuring you stay warm and cozy all winter long.
Understanding the Role of a Pilot Light
Before we delve into the how-to, let’s first understand what a pilot light is and its function in a gas heater. A pilot light is a small, continuously burning flame that serves as an ignition source for the main gas burners in your heater. Think of it as a tiny flame standing by, ready to ignite the larger flames that heat your home.
Pilot lights were a standard feature in older gas heaters. However, with advancements in technology, many modern gas heaters utilize electronic ignition systems, eliminating the need for a constantly burning pilot light and improving energy efficiency.
Why Did My Pilot Light Go Out?
There are several reasons why a pilot light might extinguish:
- Draft: A strong draft can easily blow out a pilot light, especially if the access panel is loose or damaged.
- Dirt and Debris: Dust, lint, or debris can accumulate on the pilot light assembly, obstructing the flow of gas and extinguishing the flame.
- Faulty Thermocouple: The thermocouple, a safety device that shuts off the gas supply if the pilot light is out, may be malfunctioning and needs replacement.
- Low Gas Supply: A depleted gas tank or a problem with the gas line can also cause the pilot light to go out.
Gathering Your Tools and Safety Precautions
Before you begin, it’s crucial to prioritize safety when working with gas appliances. Here’s what you’ll need:
- Owner’s Manual: Always refer to your specific heater’s manual for tailored instructions and safety guidelines.
- Flashlight: Adequate lighting is essential, especially in dimly lit areas where your heater might be located.
- Long Lighter or Matches: These will be used to relight the pilot.
Safety Precautions:
- Ventilation: Ensure the area is well-ventilated to prevent the buildup of gas. Open windows and doors if necessary.
- Gas Odor: If you smell gas at any point, immediately stop, turn off the gas valve to the heater, and evacuate the area. Call your gas company or emergency services from a safe location.
- Never Force: Do not force any components or attempt to repair anything beyond your expertise.
A Step-by-Step Guide to Lighting Your Pilot Light
Now that you’re prepared, let’s ignite that pilot light:
1. Locate the Pilot Light and Main Gas Valve
Refer to your owner’s manual for the precise location of the pilot light and the main gas valve. The pilot light is typically found near the base of the heater and might be housed within a small metal enclosure. The main gas valve is often located near the gas line connection.
2. Turn Off the Gas Supply
Locate the main gas valve to your heater. It’s usually a knob or lever that controls the flow of gas to the appliance. Turn the valve to the “Off” position. Wait for a few minutes to allow any residual gas to dissipate.
3. Locate the Pilot Light Assembly
The pilot light assembly is usually a small metal tube with a tiny opening where the flame burns. It’s often located near the gas burners.
4. Turn the Gas Control Knob to “Pilot”
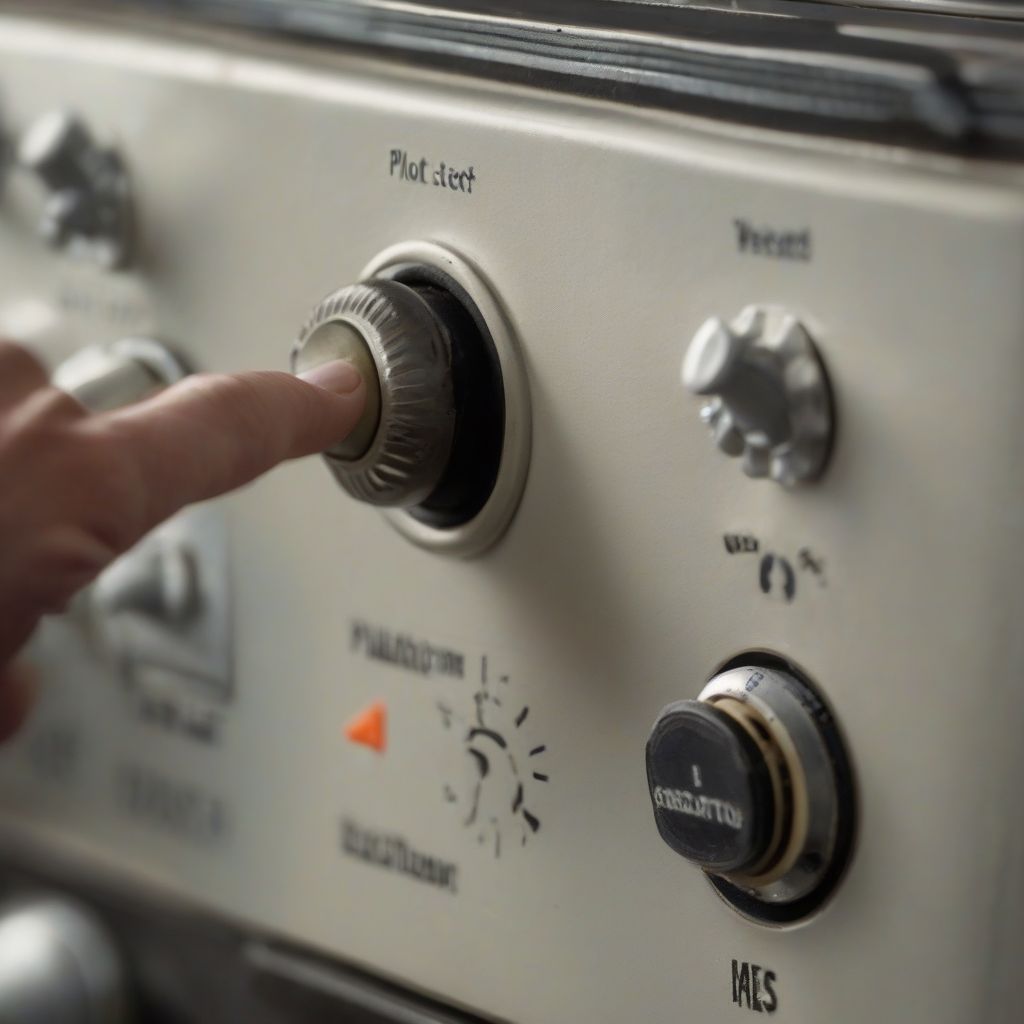
On the gas control knob or thermostat, you’ll likely find settings for “On,” “Off,” and “Pilot.” Turn the knob to the “Pilot” setting.
gas.areview.net/wp-content/uploads/2024/09/gas-control-knob-66e005.jpg" alt="Gas Control Knob" width="1024" height="1024">Gas Control Knob
5. Press and Hold the Pilot Button
Locate the pilot button or reset button. This is usually a red button located near the gas control knob. Press and hold the button down.
6. Ignite the Pilot Light
While holding down the pilot button, use your long lighter or match to ignite the pilot light through the designated opening in the pilot light assembly.
7. Continue Holding the Pilot Button
Once the pilot light ignites, continue holding down the pilot button for about 30 to 60 seconds. This allows the thermocouple to heat up and maintain the gas flow to the pilot.
8. Release the Pilot Button
Slowly release the pilot button. If the pilot light stays lit, you’ve successfully relit it. If it goes out, repeat the process.
9. Turn the Gas Control Knob to “On”
With the pilot light burning steadily, turn the gas control knob to the “On” position to allow gas flow to the main burners.
Troubleshooting Tips
If you’re still having trouble lighting your pilot light, here are some additional tips:
- Check for Drafts: Ensure there are no drafts near the heater that could blow out the pilot light.
- Clean the Pilot Light Orifice: Use a needle, thin wire, or compressed air to gently clear any debris from the pilot light orifice.
- Check the Thermocouple: If you suspect a faulty thermocouple, it’s best to contact a qualified HVAC technician for replacement.
When to Call a Professional
While relighting a pilot light is often a manageable DIY task, there are instances when calling a professional is essential:
- Persistent Gas Odor: If you smell gas, even after shutting off the gas supply, evacuate immediately and contact your gas company or emergency services.
- Repeated Pilot Light Outages: Frequent pilot light outages could signal a more serious issue with your heater that requires professional attention.
- Lack of Confidence: If you’re ever unsure or uncomfortable performing any step of the process, it’s always best to err on the side of caution and call a licensed HVAC technician.
Conclusion
Mastering the art of lighting a pilot on a gas heater can save you from chilly evenings and unnecessary service calls. By following the steps outlined in this guide and adhering to safety precautions, you can confidently ensure your heater is ready to combat those cold snaps. Remember, if you encounter any difficulties or suspect a more significant problem, don’t hesitate to contact a qualified HVAC professional for assistance.