How to Safely Remove a Gas Line from Your Dryer: A Step-by-Step Guide
Imagine this: you’re finally upgrading to that energy-efficient dryer you’ve had your eye on. You’re excited to lower your energy consumption and do your part for the environment. But before you can revel in the joy of laundry day, you have a potentially daunting task ahead of you – disconnecting the old gas dryer.
Dealing with gas lines might seem intimidating, and it’s true that safety should be your top priority. But with the right knowledge and precautions, you can disconnect your gas dryer yourself and save on the cost of hiring a professional.
This comprehensive guide will walk you through the process step-by-step, ensuring you have all the information you need to disconnect your gas dryer safely and efficiently. Let’s get started!
Understanding the Importance of Safe Gas Handling
Before we delve into the nitty-gritty of disconnecting your gas line, let’s take a moment to understand why safety is paramount when working with gas appliances.
Natural gas is a highly flammable substance. If not handled properly, it can lead to dangerous situations, including:
- Gas leaks: Even a small gas leak can release flammable gas into your home, creating a fire hazard.
- Explosions: In a worst-case scenario, a gas leak can ignite, leading to a dangerous explosion.
- Carbon monoxide poisoning: Incomplete combustion of natural gas can produce carbon monoxide, a colorless, odorless, and deadly gas.
Knowing the potential risks underscores the importance of approaching this task with caution and care. Remember, it’s always best to err on the side of caution when it comes to gas appliances.
Tools and Materials You Will Need
Having the right tools on hand will make the disconnection process smoother and safer. Gather the following before you begin:
- Adjustable wrench: You’ll need this to loosen and tighten the gas line fittings.
- Pipe thread sealant tape: This tape, also known as Teflon tape, helps create a gas-tight seal on the fittings.
- Safety glasses: Protect your eyes from any debris or dust during the disconnection process.
- Work gloves: These will protect your hands from sharp edges and grime.
- Bucket or rags: Keep these handy to catch any residual gas or water that might be in the lines.
Step-by-Step Guide to Removing Your Gas Line
Now that you understand the safety precautions and have gathered the necessary tools, let’s dive into the step-by-step process of disconnecting your gas dryer:
1. Turn Off the Gas Supply
This is the most crucial step! Locate the gas shutoff valve that controls the gas flow to your dryer. It’s typically located behind the dryer, near the floor. Turn the valve clockwise until it’s completely closed.
Important Note: The valve handle will be perpendicular to the gas pipe when it’s closed and parallel to the pipe when it’s open.
gas.areview.net/wp-content/uploads/2024/09/gas-shutoff-valve-66dff0.jpg" alt="Gas Shutoff Valve" width="1024" height="1024">Gas Shutoff Valve
2. Disconnect the Dryer
- Unplug the dryer: Safety first! Before you disconnect anything else, unplug the dryer from the electrical outlet.
- Disconnect the vent hose: Loosen the clamp securing the vent hose to the dryer and carefully detach the hose.
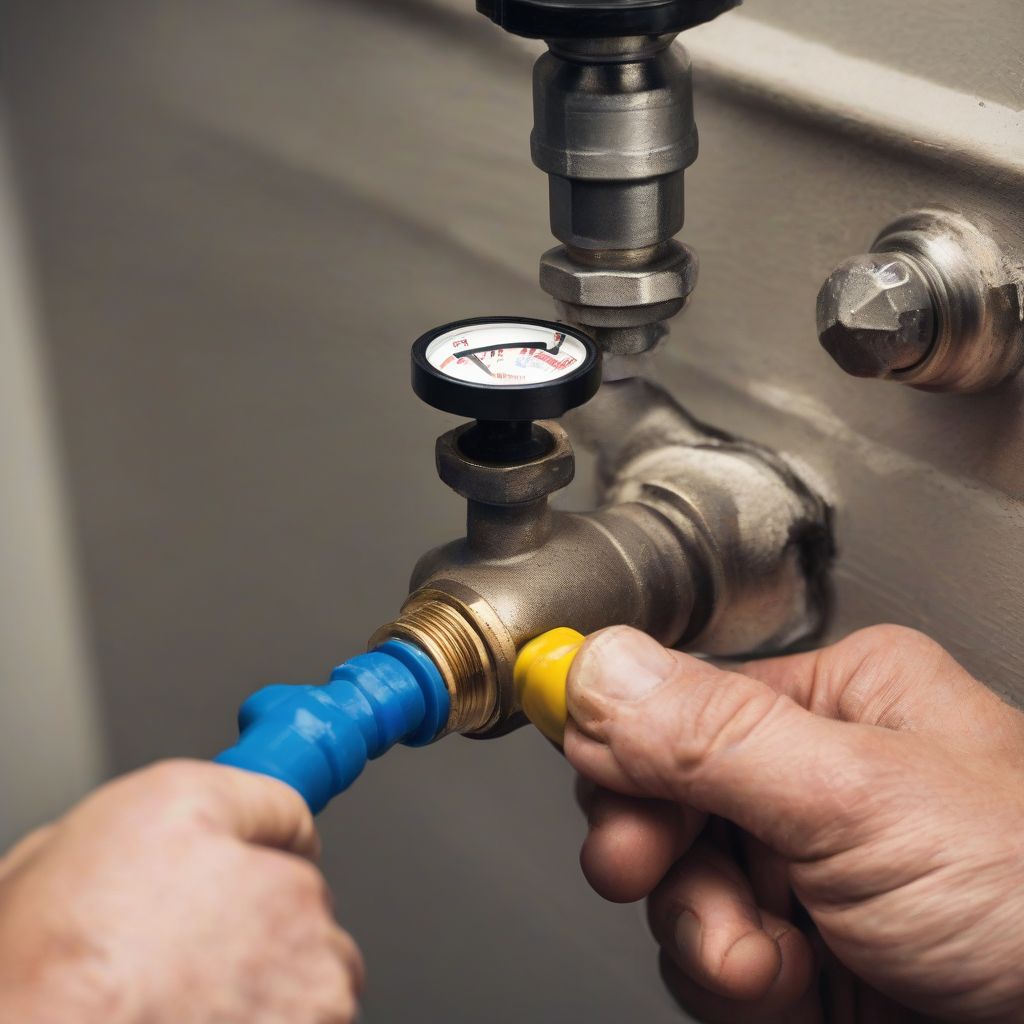
- Disconnect the gas line:
- Put on your safety glasses and work gloves.
- Place a bucket or rags beneath the gas line connection to catch any residual gas or debris.
- Use your adjustable wrench to loosen the nut connecting the gas line to the dryer. Turn the nut counterclockwise.
- Once the nut is loose, you can unscrew it by hand. Be prepared for a small amount of gas to escape. This is normal.
- Inspect the gas line fitting on the dryer for any damage.
3. Cap the Gas Line
After disconnecting the dryer, it’s crucial to cap the open gas line to prevent leaks.
- Clean the threads: Use a clean rag to wipe away any old thread sealant tape from the gas line threads.
- Apply new thread sealant tape: Wrap the gas line threads with new Teflon tape, wrapping in the direction of the threads (clockwise).
- Install a gas line cap: Screw a gas line cap onto the exposed threads of the gas line. Tighten it securely with the adjustable wrench to ensure a gas-tight seal.
4. Check for Leaks
Once the gas line is capped, it’s time to check for leaks.
- Turn on the gas supply: Slowly turn the gas shutoff valve back on.
- Apply soapy water solution: Mix a small amount of dish soap with water to create a soapy solution.
- Inspect for bubbles: Apply the soapy water solution to the gas line cap and the connection where you disconnected the dryer. If you see any bubbles forming, it indicates a gas leak.
If you detect a leak:
- Immediately turn off the gas supply.
- Tighten the connections where you see bubbles. If the leak persists, it’s best to call a qualified plumber to address the issue.
Conclusion
Safely disconnecting your gas dryer might seem like a daunting task, but with the right precautions and this step-by-step guide, you can accomplish it with confidence. Remember to prioritize safety throughout the process. Always double-check your work and don’t hesitate to call a qualified professional if you encounter any issues or feel uncomfortable handling the gas line.
By taking the time to disconnect your gas dryer correctly, you’re ensuring your safety and taking an important step towards a successful appliance upgrade.